How to Use the Record Editor
Last updated
Table of Contents
- How to use DNSimple’s Record Editor
- Accessing the Record Editor
- Adding a record
- Updating a record
- Deleting a record
- Record limits per zone
- Managing integrated zone records
- Viewing activity for a domain
- Have more questions?
How to use DNSimple’s Record Editor
The record editor is where you view, add, update, and delete the DNS records for a domain hosted with DNSimple DNS hosting.
Any supported DNS record type can be managed from the Record Editor, except system records. Some record types (CAA, HINFO, HTTPS, NAPTR, SRV, SSHFP, SVCB, and TLSA) have two tabs on their form: and . To learn about the differences and when to use each, see Understand DNSimple’s Record Editors: Simple vs. Field-Specific.
You will need access to the account or domain to make changes. Make sure the domain is delegated to DNSimple so your records propagate.
Accessing the Record Editor
To open the record editor
- If you have more than one account, select the relevant one from the account switcher at the top-right corner of the screen.
- On the header, click the tab.
- Locate the relevant domain, and click on the name to access the domain page.
- Click at the top right of the domain page.
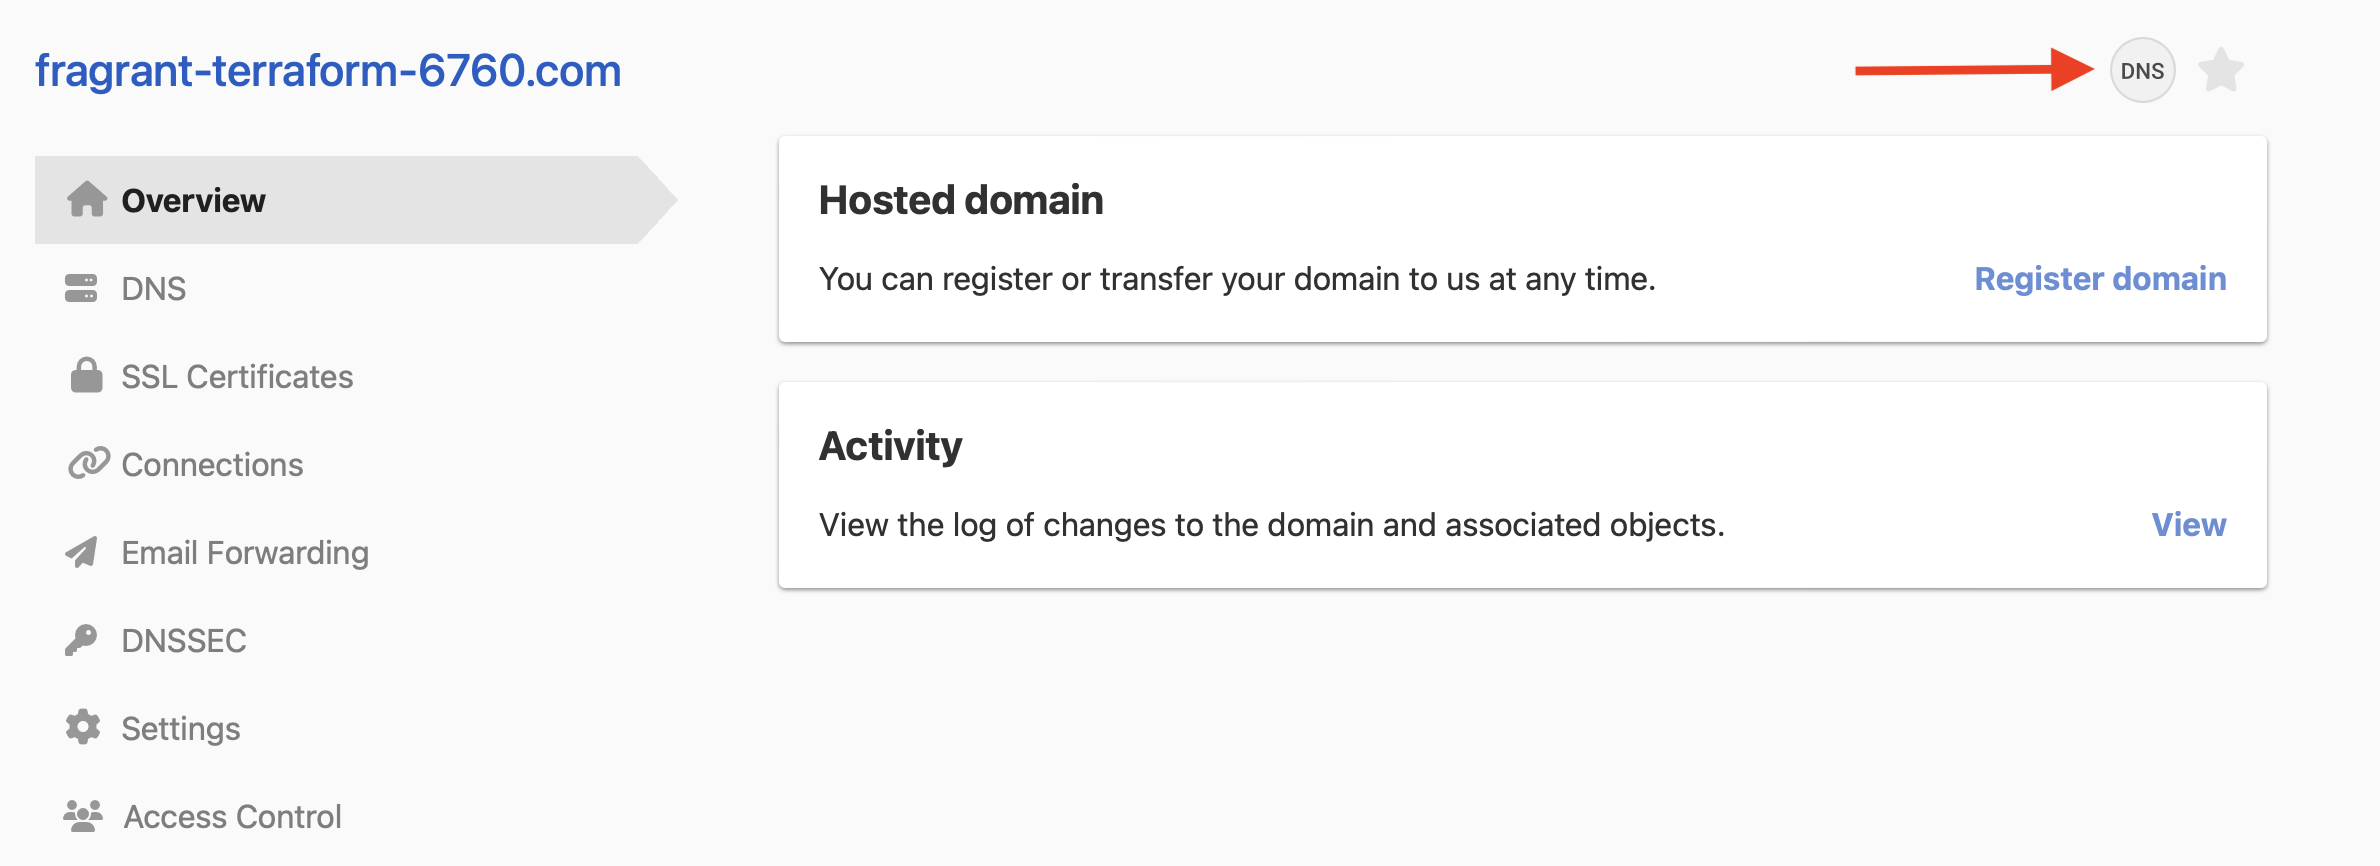
You can also click next to the domain in the list, or in the card on the domain’s tab.
Adding a record
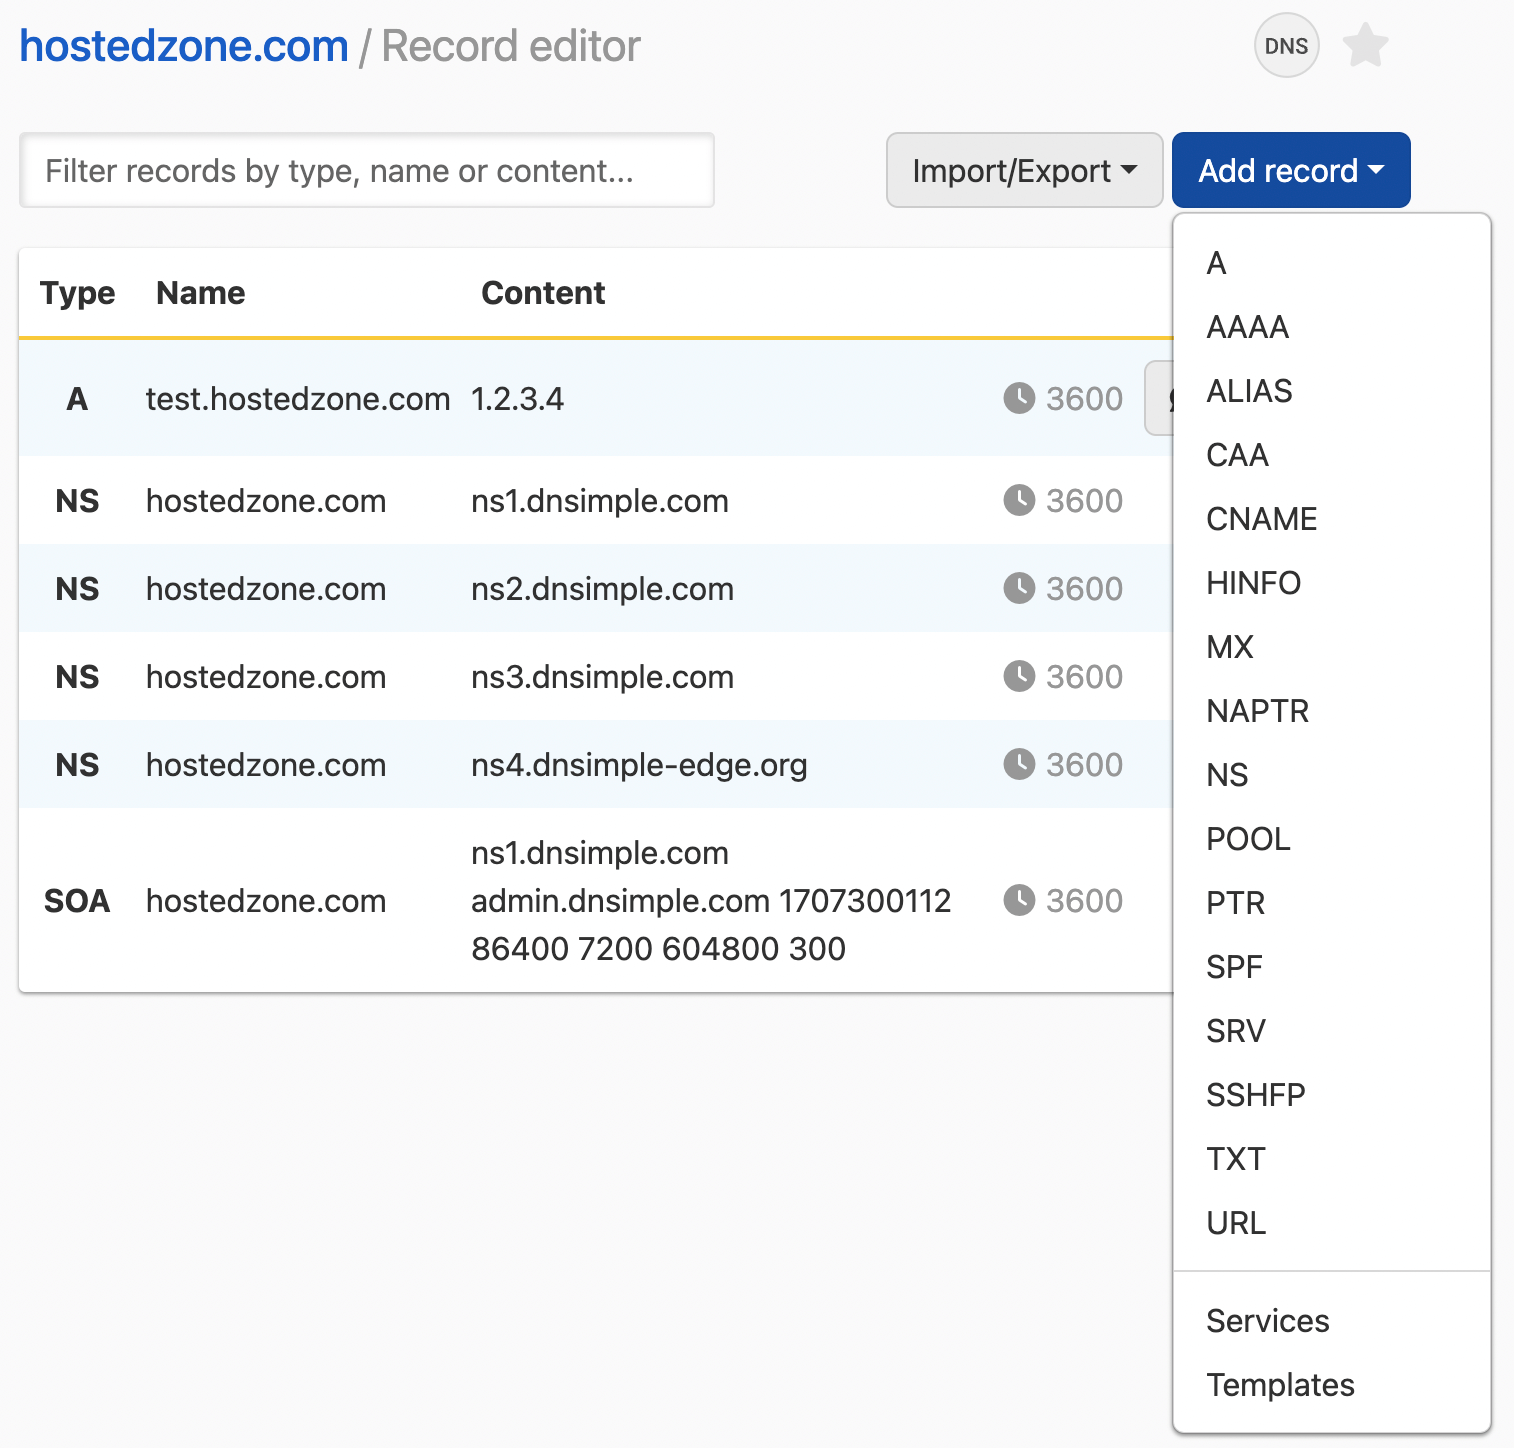
- In the record editor, click .
- Select the DNS record type you want to add (for example, A, CNAME, or MX).
- Fill out the required fields for the new record.
- Click to save it.
For step-by-step instructions on adding common DNS records, see How to Add Common DNS Records.
Updating a record
- In the record editor, find the record you want to update.
- Click the three-dot actions menu at the end of the record row, then select .
- Make your changes.
- Click to save.

Deleting a record
- In the record editor, find the record you want to delete.
- Click the three-dot actions menu at the end of the record row, then select .
- In the dialog, add a note if you want, then click .

Warning
There is no way to undo deleting a record. The only way to restore a deleted record is to recreate it.
Record limits per zone
Each zone has a record limit set by your plan, and every record counts toward it, including system records. Depending on the plan, a zone either cannot go above its limit, or can grow above it with an overage charge. For the limit of each plan and the price, see DNS Record Limits and Overage Fees.
The record editor shows how many records the zone has out of its limit, and warns you when the zone is close to it.

If a zone cannot go above its limit and reaches it, you cannot add records until you delete some, or upgrade your plan if a plan with a higher limit is available. You can still update and delete existing records.
If a downgrade leaves a zone above its new limit, the zone keeps resolving and keeps all its records, and it follows the policy of the new plan.
Zone file imports, auto-import, DNS templates, and one-click services add all their records or none. If the zone cannot go above its limit, none of their records are added when adding them would take it above the limit.
Managing integrated zone records
The record editor is also used to manage records for your integrated zones. Refer to Record Editor for Integrated Zones for more details.
Viewing activity for a domain
To see who changed your DNS records and when, click in the card on the domain page. Each record change is listed with any record note attached to it.
- If you are on the Teams plan or higher, you will see the full activity history.
- If you are on the Solo or Solo Pro plan, you can view the last 30 days of activity.
For step-by-step instructions and filtering options, see How to View the Activity Log.
Have more questions?
If you have any questions or need assistance with the record editor, contact support, and we will be happy to help.