How to Add and Remove Email Forwards
Last updated
Table of Contents
- Add an email forward
- Set up catch-all email forwarding
- Viewing your email forwards
- Forward one address to more than one destination
- Edit an email forward
- Remove an email forward
- Best practices
- Have more questions?
Email forwards redirect email sent to addresses at your domain to other email addresses. You can create email forwards from the domain page or the dashboard, and edit or delete them from the domain page. For a visual guide to the interface, see Email Forwarding Management in DNSimple.
If the domain has no email forwards yet, start with How to Set Up Email Forwarding: the first email forward turns on email forwarding for the domain and changes its MX records.
Add an email forward
You can create email forwards from the domain’s tab or from the dashboard. Each email forward counts toward your plan’s limit for the domain. See Email Forwarding Limits and Quotas.
Adding an email forward from the domain page
Add an email forward from the domain page
- Use the account switcher at the top of the page to select the appropriate account.
- On the header, click the tab, and click the name of the domain where you want to create an email forward.
- Click on the left side of the domain page.
- Below the list of email forwards, click .
- Under , select one of the options:
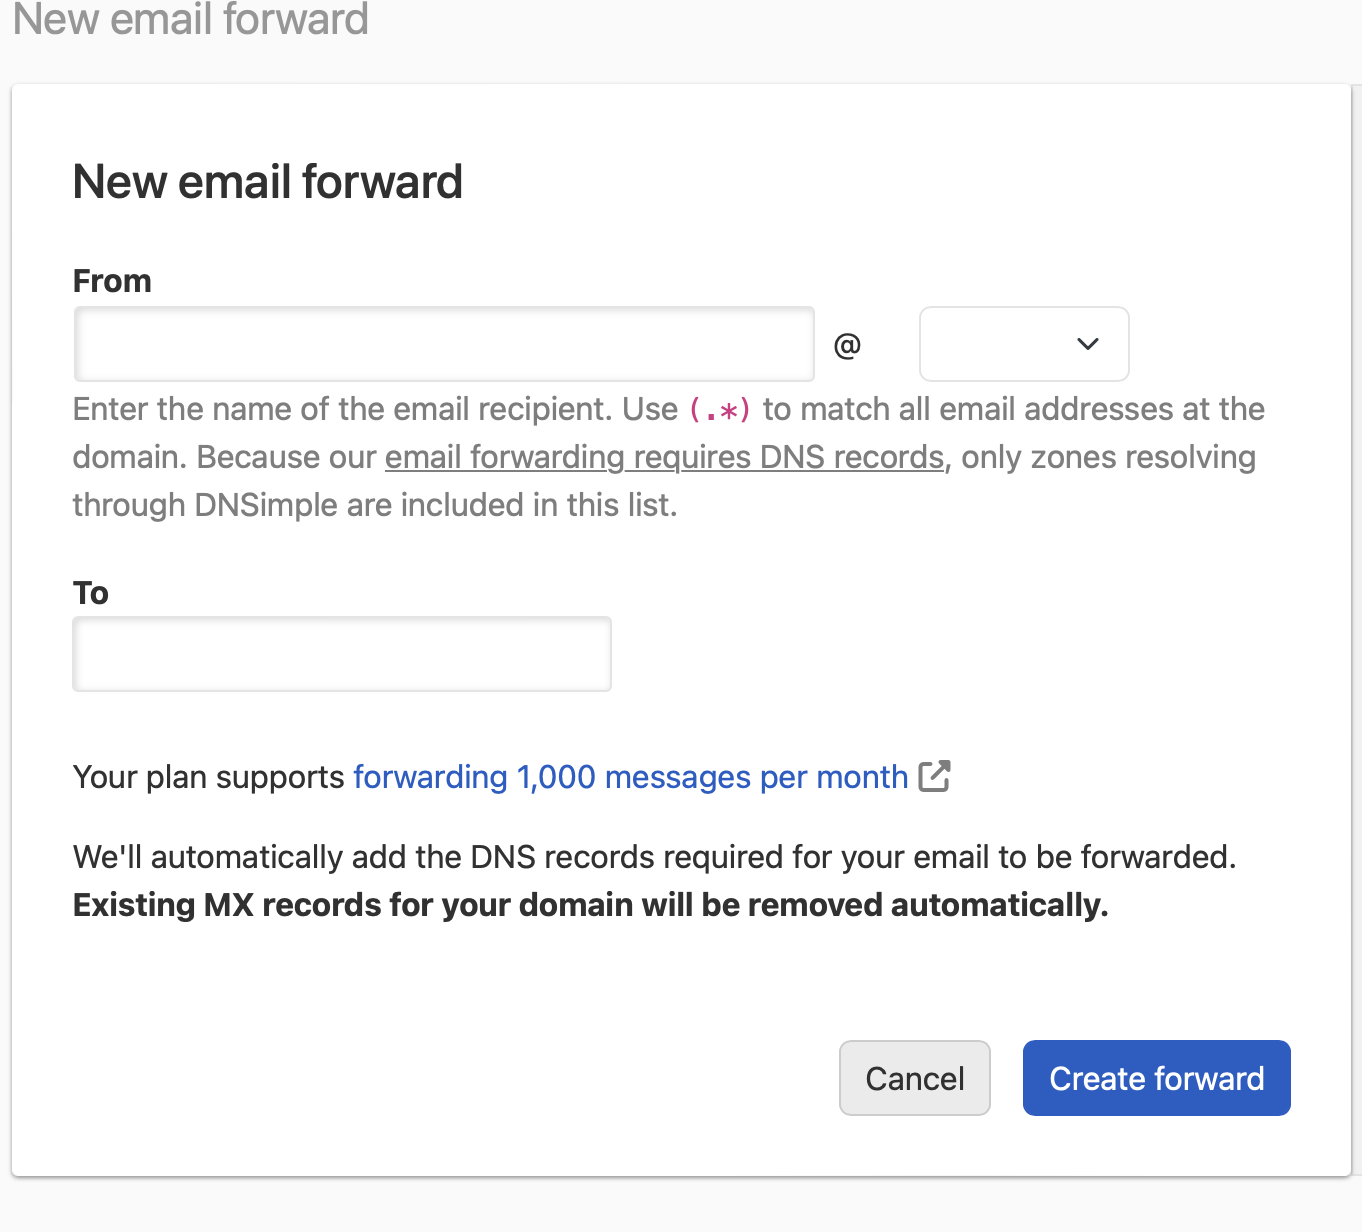
- to forward messages sent to one address at the domain. This option is selected by default.
- to forward messages sent to any address at the domain that has no email forward of its own.
- If you selected , enter the part of the address before the @ (e.g.,
helloforhello@yourdomain.com). Do not include the domain name. - In the field, enter the full email address where you want messages to be forwarded (e.g.,
yourname@gmail.com). - Click .
Adding an email forward from the dashboard
Add an email forward from the dashboard
- If you have more than one account, select the relevant one from the account switcher at the top-right corner of the screen.
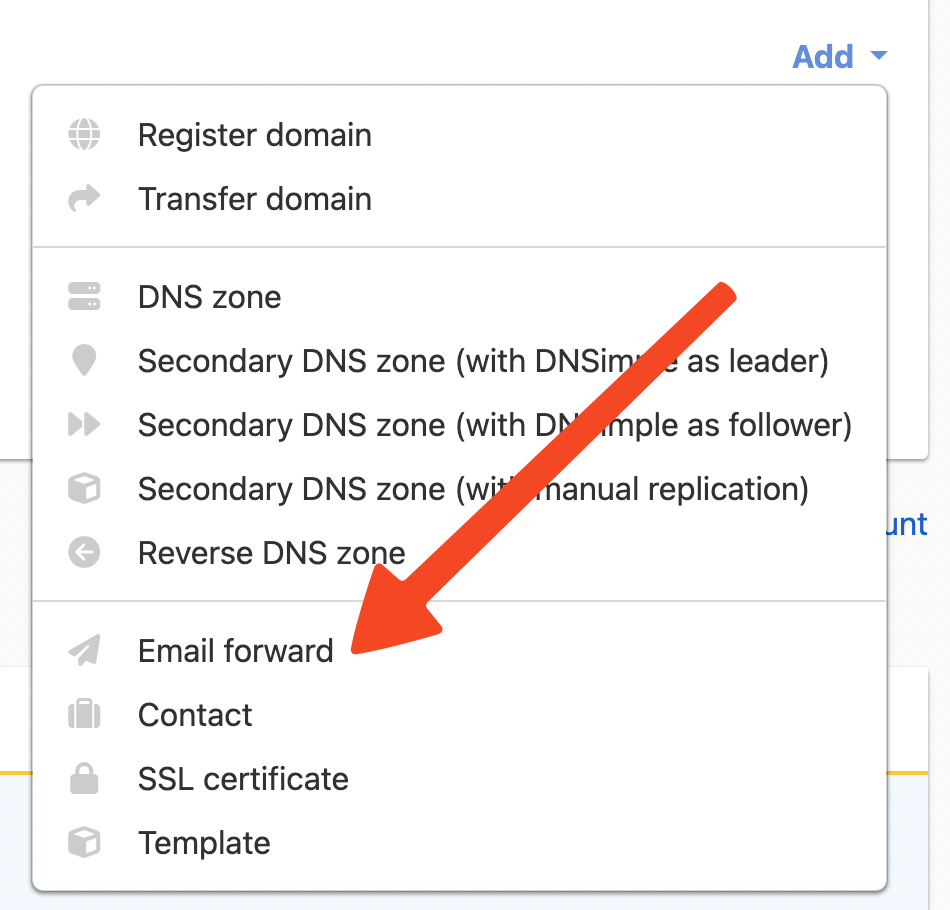
- On the dashboard, click , and choose .
- In the list, select the domain. Only domains that resolve with DNSimple appear in the list.
- Under , select one of the options:
- to forward messages sent to one address at the domain. This option is selected by default.
- to forward messages sent to any address at the domain that has no email forward of its own.
- If you selected , enter the part of the address before the @ (e.g.,
hello). - In the field, enter the full email address where you want messages to be forwarded.
- Click .
Set up catch-all email forwarding
A catch-all email forward forwards emails sent to any address at your domain that does not have a specific forwarding rule.
To create a catch-all address, follow the instructions to create an email forward, and select the option in the form. Alternatively, you can enter the following wildcard expression in the field:
(.*)
The expression is represented as a period followed by an asterisk within parentheses. The parentheses are required. The UI also supports the format .* (without parentheses) for backward compatibility, but (.*) is the recommended format.
Note
When you have a catch-all email forward, it only applies to email sent to addresses that do not already have a specific email forward. If an email is sent to an address that has a matching email forward, only that email forward handles it, and the catch-all does not apply. This way each email is forwarded once, without duplicates.
Viewing your email forwards
To view all email forwards for a domain, open the domain, and click . The tab lists each email forward as the forwarded address, then the destination address. A catch-all forward shows as Catch all forwarded, with a label. Each row ends in a menu with and .
Below the list, the tab shows how many more email forwards your plan allows on the domain.
For a visual guide to the email forwarding interface, see Email Forwarding Management in DNSimple.
Forward one address to more than one destination
To send email for one address to two or more destinations, create one email forward per destination, each with the same address. For example, create hello forwarded to alex@example.com, and hello forwarded to sam@example.com. Each email forward counts toward your plan’s limit.
Edit an email forward
Edit an existing email forward
- Open the domain, and click .
- Find the email forward you want to edit, click the menu at the end of the row, then select .
- Change the address under or the address as needed.
- Click to apply the changes.
The edit form only shows the type of the email forward you are editing, so you cannot change a single address forward into a catch-all, or a catch-all into a single address forward. To change the type, delete the email forward and create a new one.
Remove an email forward
Delete an email forward
- Open the domain, and click .
- Find the email forward you want to delete, click the menu at the end of the row, then select .
- Confirm the deletion.
The email forward is deleted immediately, and email sent to that address is no longer forwarded to that destination.
Warning
Deleting an email forward is permanent. Once deleted, email sent to that address bounces, unless the domain has a catch-all forward or you create a new email forward.
When you delete the domain’s last email forward, DNSimple deletes the forwarding MX records, removes the forwarding service from the SPF record, and stops charging for email forwarding on the domain. It does not restore MX records that were deleted when you set up email forwarding. To use another email provider, add that provider’s MX records. See Manage MX Records When Changing Email Providers.
Best practices
Use descriptive addresses: Create email forwards with clear, descriptive names (e.g., contact@yourdomain.com, support@yourdomain.com) to make it easier to identify the purpose of each forward.
Organize by function: Consider forwarding different addresses to different destinations based on their purpose (e.g., sales@yourdomain.com to your sales team, support@yourdomain.com to your support team).
Monitor catch-all forwards: If you use a catch-all forward, monitor your destination inbox for spam or unwanted emails, as catch-all forwards can receive emails sent to misspelled or random addresses.
Test after changes: After creating, editing, or deleting email forwards, send a test email to check that it arrives where you expect. If it does not, see Email Forwarding Not Working.
Have more questions?
If you have additional questions or need any assistance with managing email forwards, contact support, and we will be happy to help. You can also read more about email forwarding at DNSimple.