Blogger One-click Service
Last updated
Table of Contents
- Get the records from Blogger first
- Add the Blogger service
- Finish the setup in Blogger
- Have more questions?
Blogger is a free blogging service from Google. The Blogger one-click service adds two CNAME records: one for your blog’s subdomain, such as www or blog, pointing to ghs.google.com, and the security CNAME that Blogger shows for your blog.
Get the records from Blogger first
Add your blog’s address, such as www.example.com, as a custom domain in Blogger. Blogger then shows two CNAME records. Keep the second one, the security CNAME, open: you need its name and destination in the next step. See Blogger’s guide to setting up a custom domain.
Add the Blogger service
To add the Blogger service
- From the domain list, click the domain name.
- Click the tab on the left side.
-
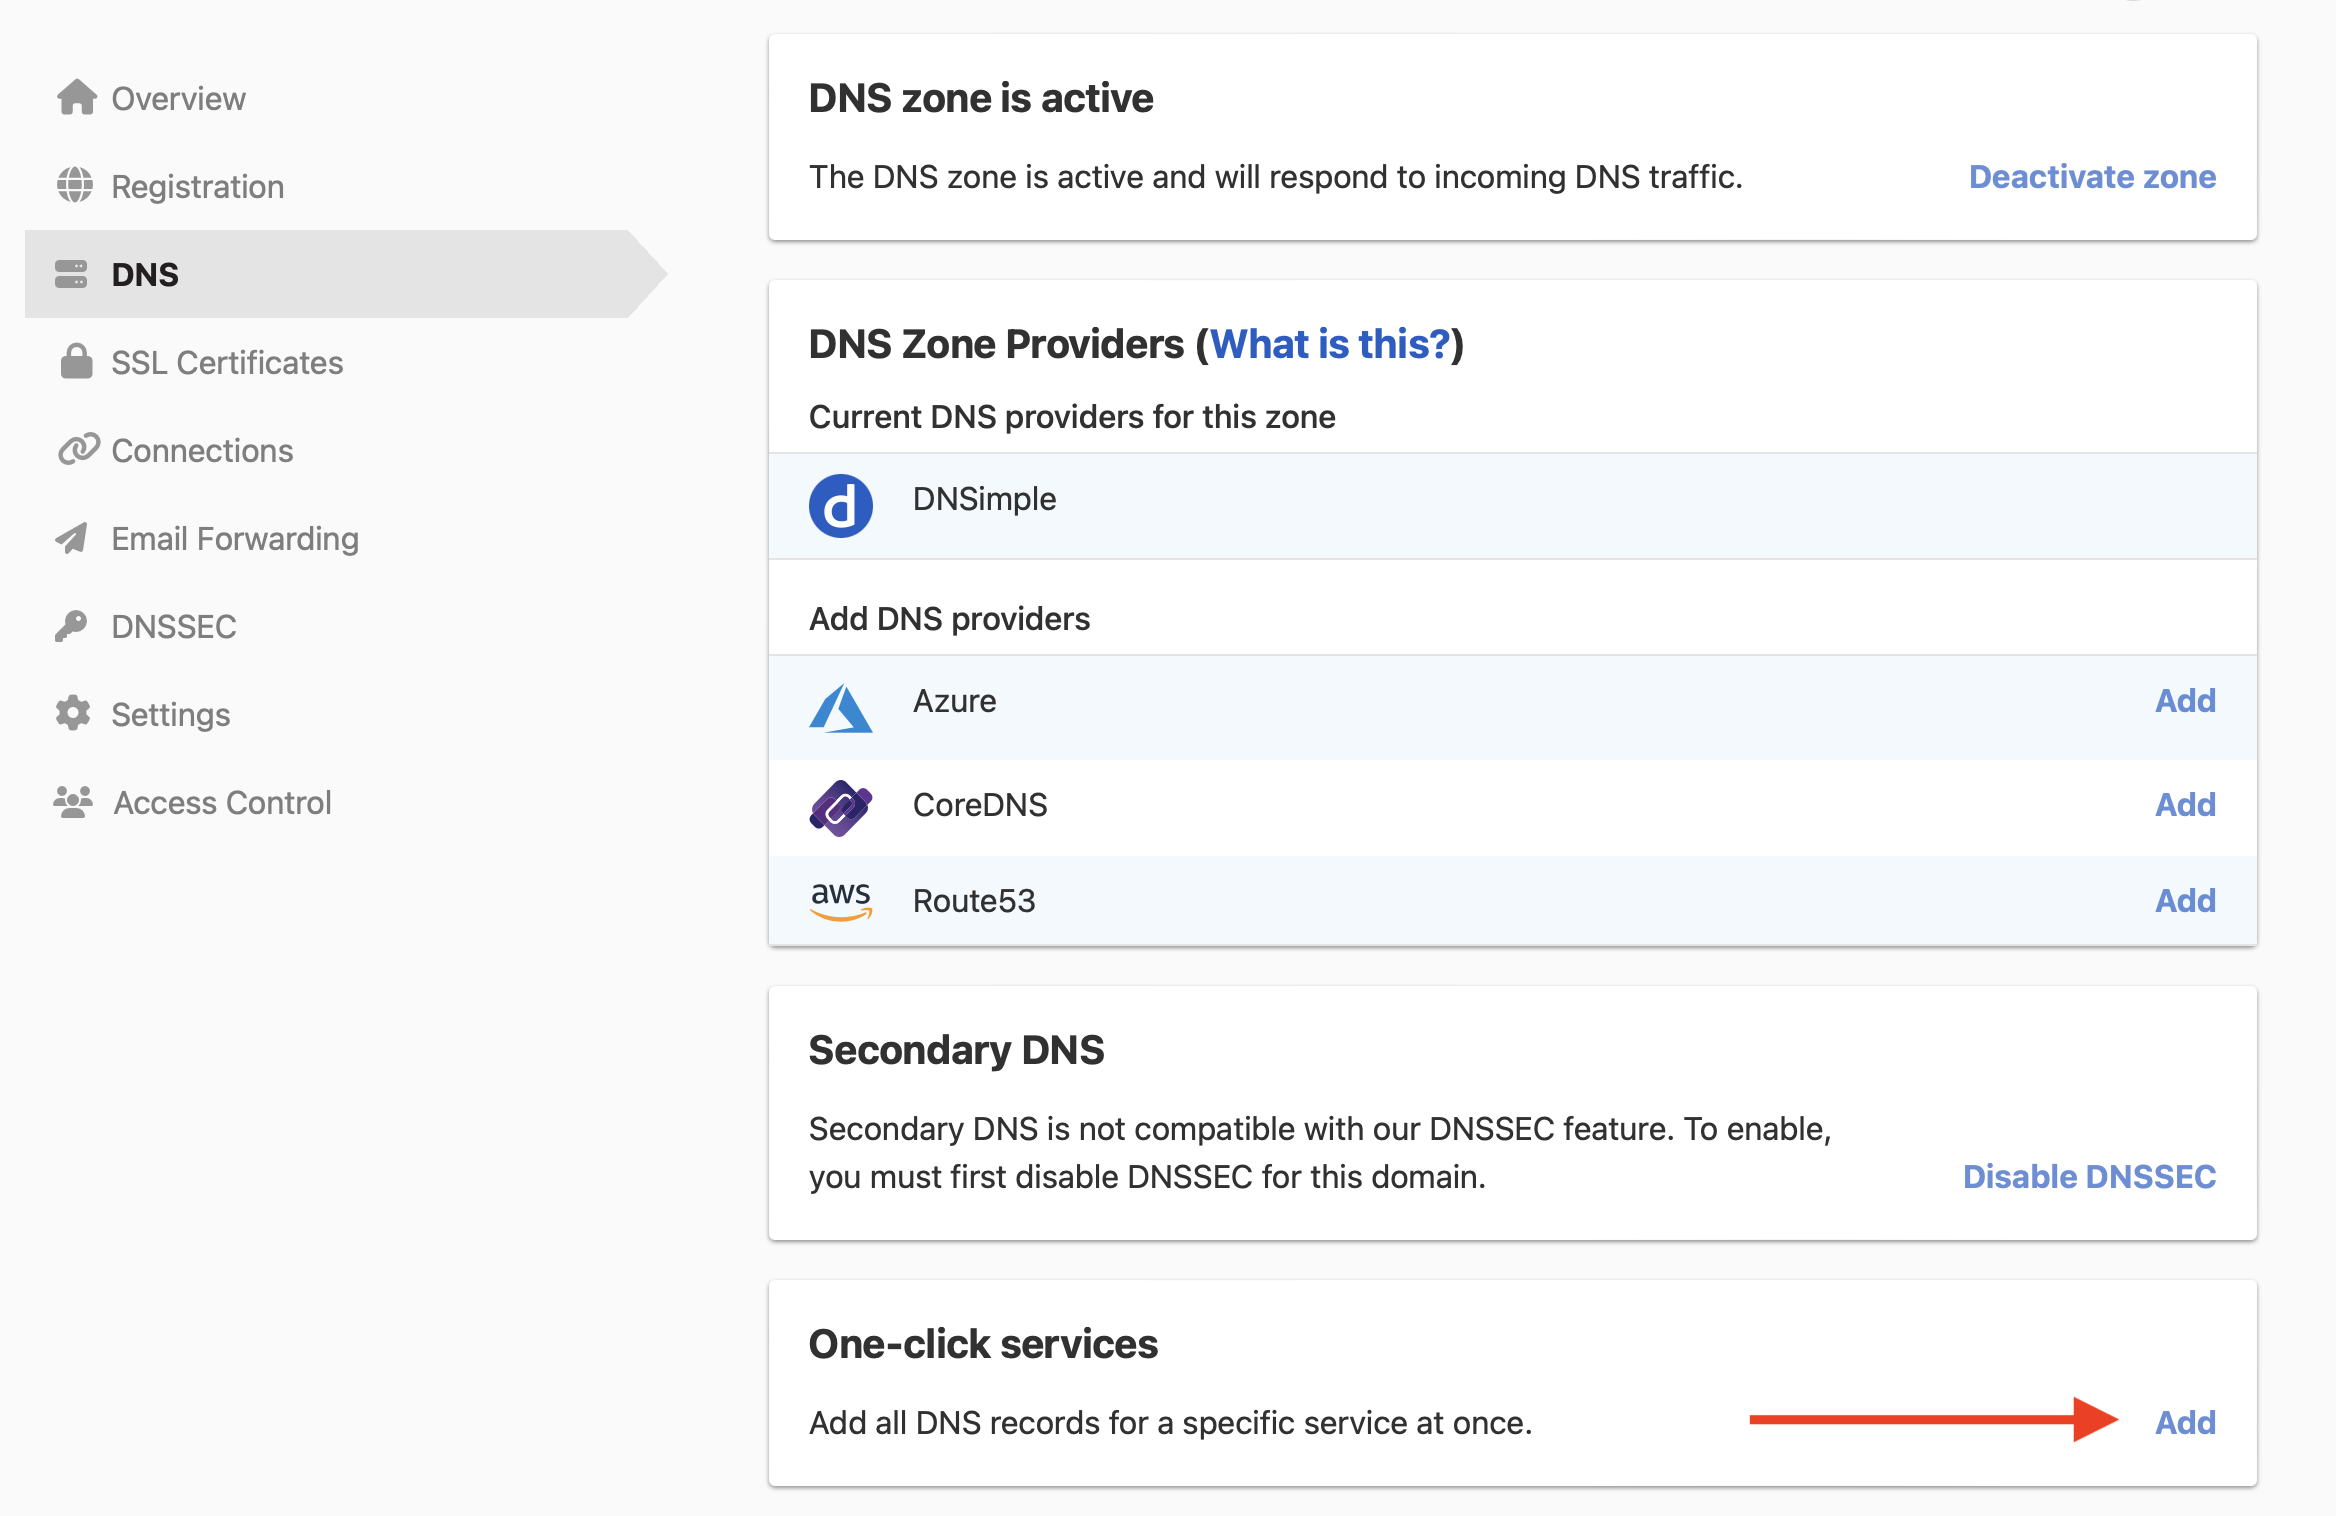
In the card, click , or if the domain already has a service.
-
Click the tab, and click next to Blogger.

- In , enter the subdomain for your blog, such as
wwworblog. - In , enter the short name Blogger shows for the second CNAME record.
- In , enter the destination Blogger shows for that record.
- Click .
To remove the service later, see Remove a one-click service.
Finish the setup in Blogger
Go back to Blogger and save the custom domain again. If Blogger cannot find the records yet, wait at least an hour and try again.
If your domain has CAA records, add one for letsencrypt.org. Without it, Blogger cannot create or renew the SSL certificate for your blog.
To send visitors from example.com to www.example.com, Blogger’s guide lists four A records for the domain apex and a redirect setting in Blogger. The service does not add those records, so add them in the record editor if you want the redirect.
Have more questions?
If you have additional questions or need any assistance with the Blogger service, contact support, and we’ll be happy to help. You can also read more about DNSimple integrations.