Postmark One-click Service
Last updated
Table of Contents
Postmark sends and receives transactional email for applications. The Postmark one-click service adds three records:
- A DKIM record, with the hostname and value Postmark shows
- A CNAME record for
pm-bouncestopm.mtasv.net, Postmark’s Return-Path address for bounces - An MX record on the subdomain you choose, such as
inbound.example.com, toinbound.postmarkapp.comfor inbound email
The MX record is only on that subdomain, so it does not change where email for example.com goes.
Add the domain in Postmark first
Add the domain in Postmark, and note the DKIM hostname and value it shows. See Postmark’s guide to verifying a domain.
Add the Postmark service
To add the Postmark service
- From the domain list, click the domain name.
- Click the tab on the left side.
-
In the card, click , or if the domain already has a service.
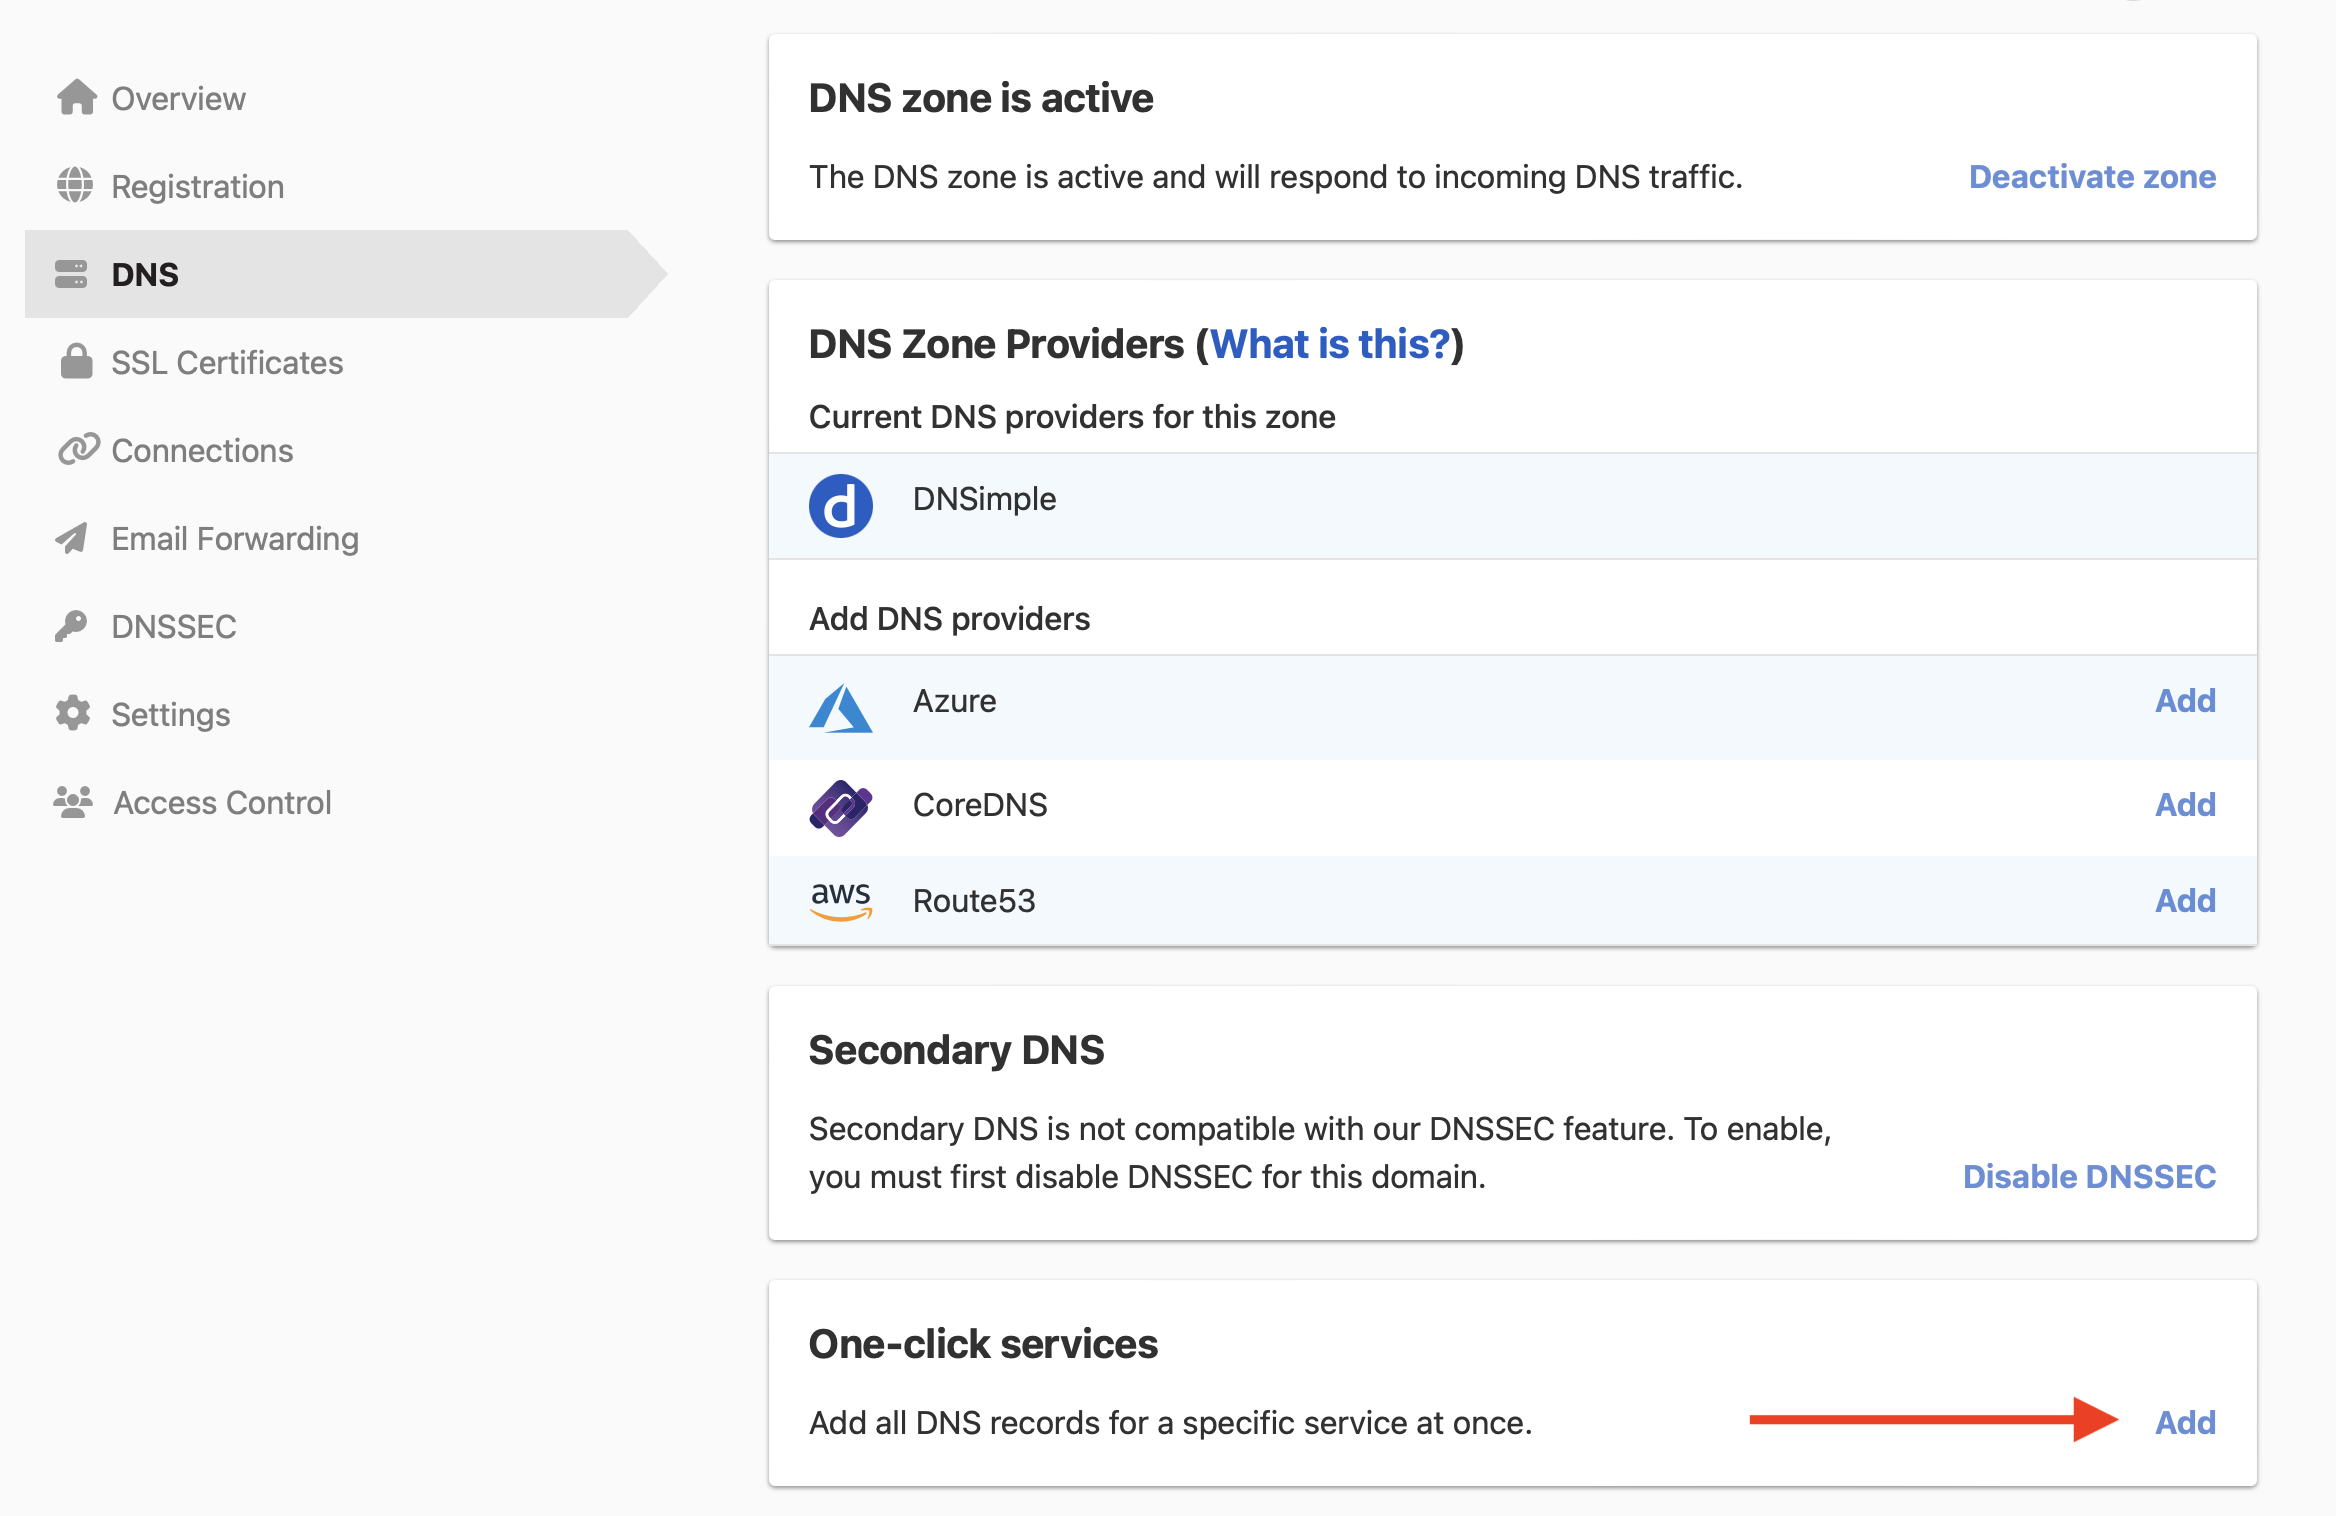
-
Click the tab, and click next to Postmark.

- In , enter the DKIM hostname from Postmark.
- In , paste the DKIM value from Postmark.
- In , enter the subdomain for inbound email, such as
inbound. Enter*to accept inbound email on any subdomain. - Click .
To remove the service later, see Remove a one-click service.
Have more questions?
If you have additional questions or need any assistance with the Postmark service, contact support, and we’ll be happy to help. You can also read more about DNSimple integrations.