Manage Zones at Integrated DNS Providers
Last updated
Table of Contents
- Managing integrated zones for an Integrated DNS Provider
- Adding a zone to an Integrated DNS Provider
- Removing integrated zones from DNSimple
- Deleting a zone from an Integrated DNS Provider
- Have more questions?
An integrated zone is a zone at an Integrated DNS Provider that DNSimple manages alongside its own copy. After you connect a provider, you can change which of its zones DNSimple imports, add a DNSimple zone to the provider, and remove or delete integrated zones. What Are Integrated DNS Providers? explains how they work.
Removing and deleting are different:
- Remove stops DNSimple from managing the zone at the provider. The zone and its records stay at both DNSimple and the provider.
- Delete deletes the zone and its records at the provider. The zone and its records stay at DNSimple.
Managing integrated zones for an Integrated DNS Provider
For Route 53 and Azure DNS, you choose which of the provider’s zones DNSimple imports. Imported zones appear in the list, as described in Refresh and Import Integrated Zones. Taking a zone out of the selection works like removing it: nothing is deleted at either provider.
To change which zones are imported
- If you have more than one account, select the relevant one from the account switcher at the top-right corner of the screen.
- From the account switcher, click , then click the tab.
-
Under , click the menu at the end of the provider’s row, then select .
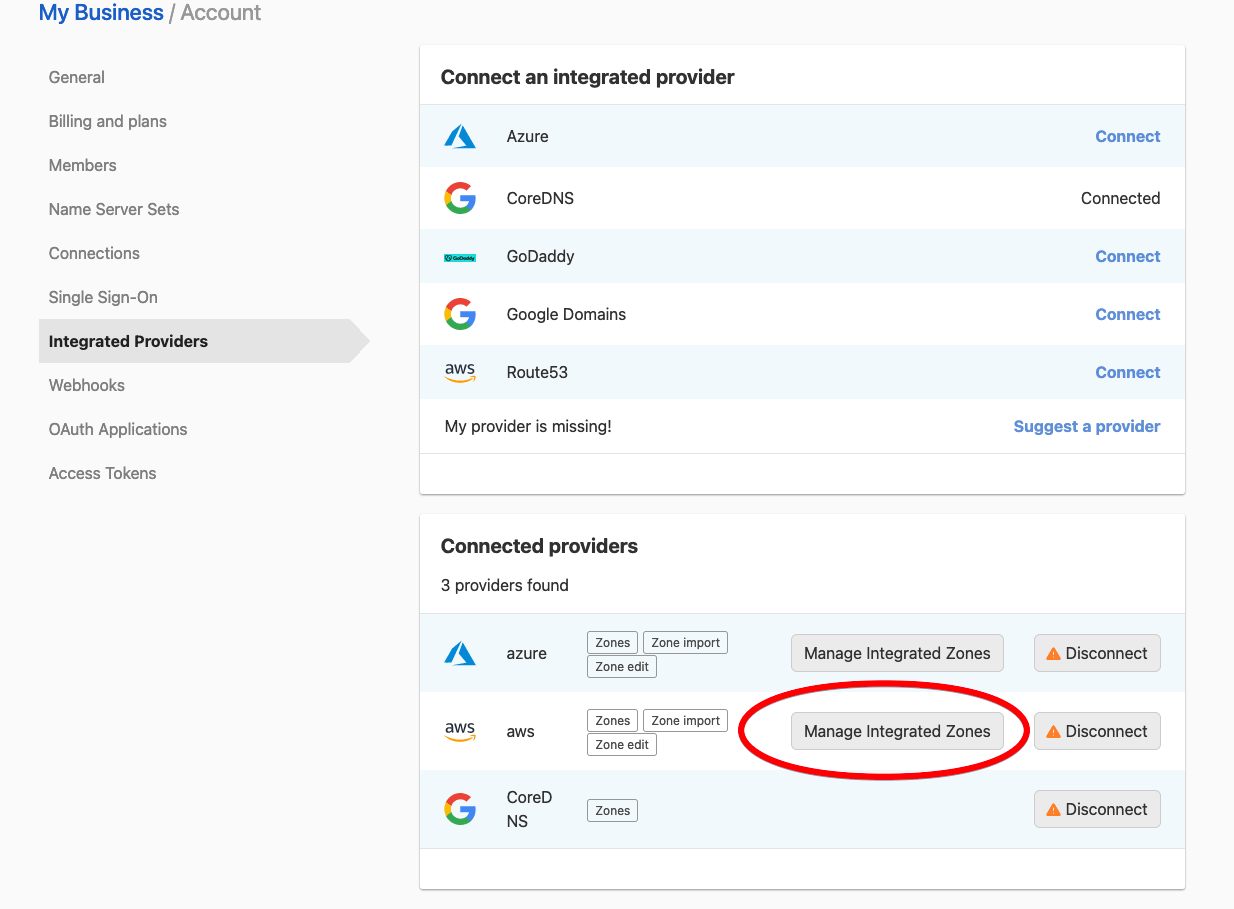
-
A dialog titled with the provider name, such as , lists the zones imported from that provider. Use the search box to find one.
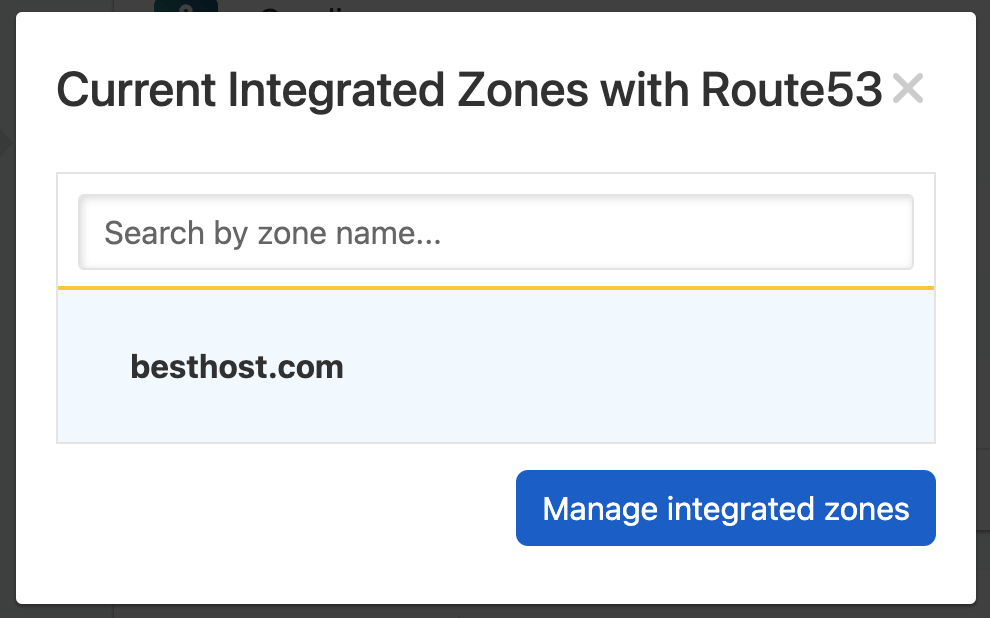
-
Click , then select or clear zones.
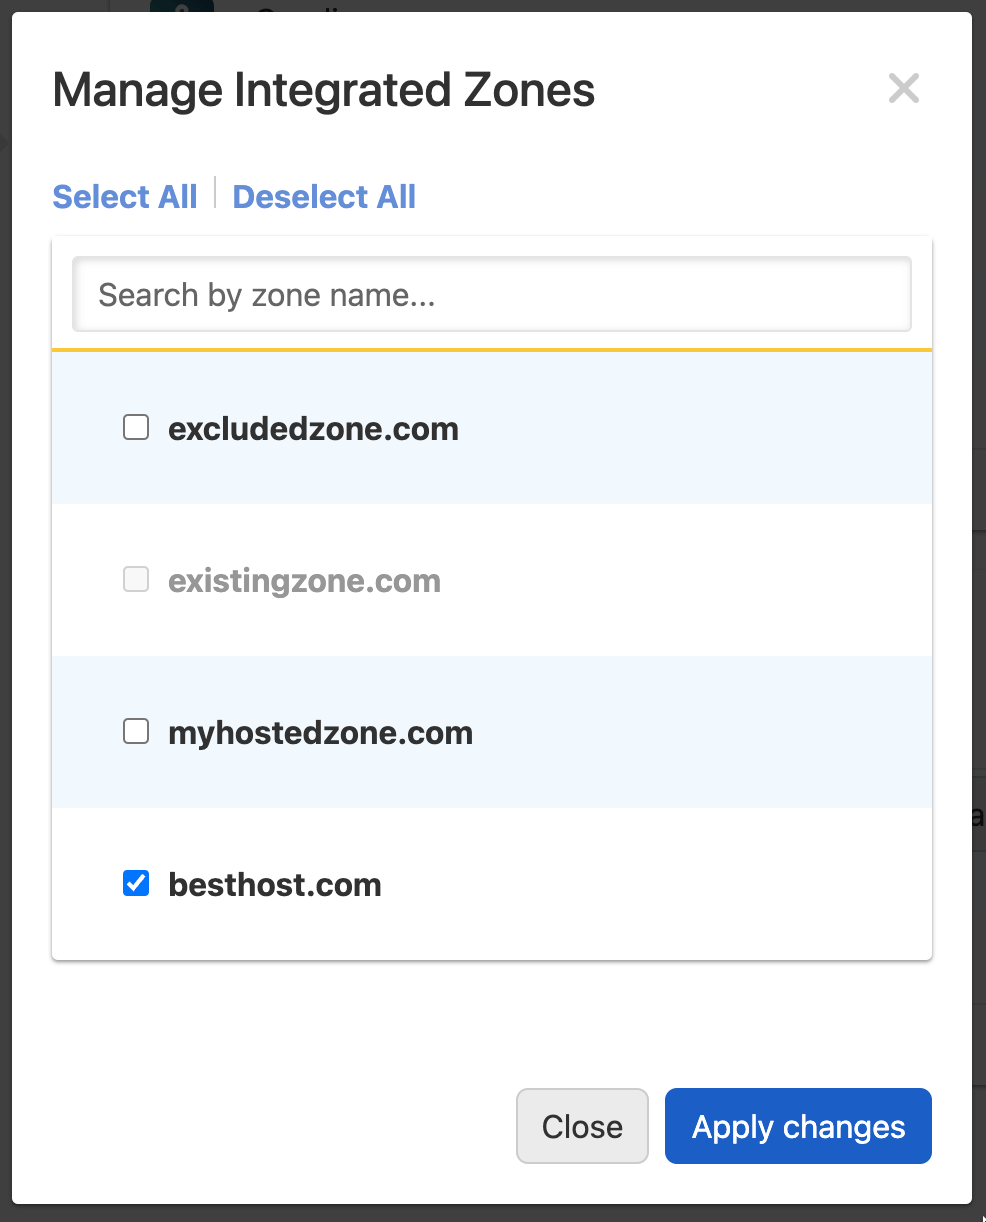
- Click .
CoreDNS does not import zones, so it has no option. Add zones to CoreDNS from the domain’s DNS page instead.
Adding a zone to an Integrated DNS Provider
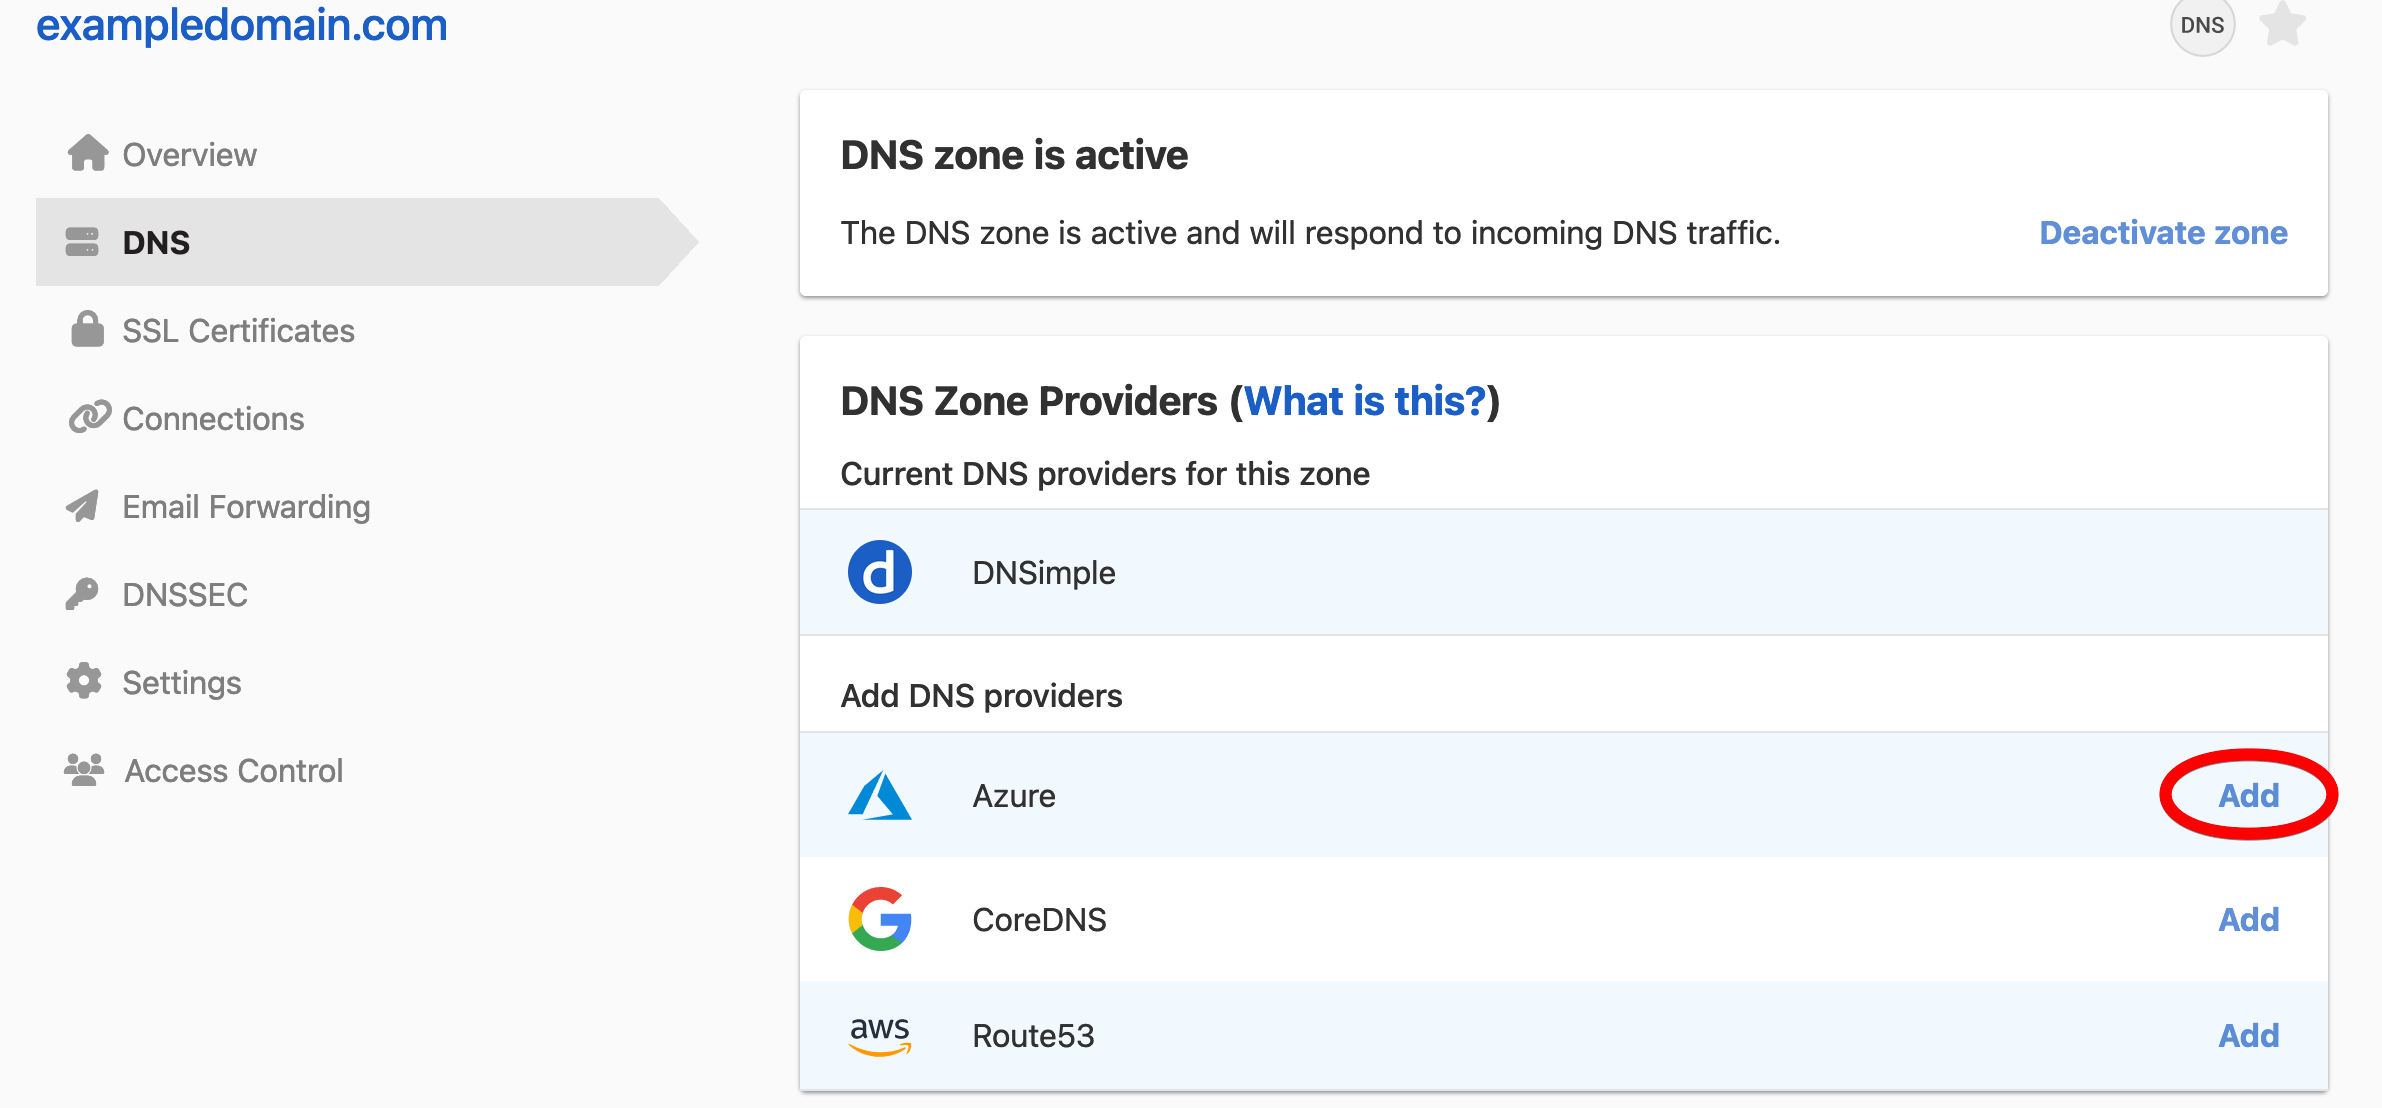
You can add a zone that is already in DNSimple to an Integrated DNS Provider from the card on the domain’s DNS page.
To add a zone to a provider
- If you have more than one account, select the relevant one from the account switcher at the top-right corner of the screen.
- From the list, click the domain you want to manage.
-
Click the tab on the left side.
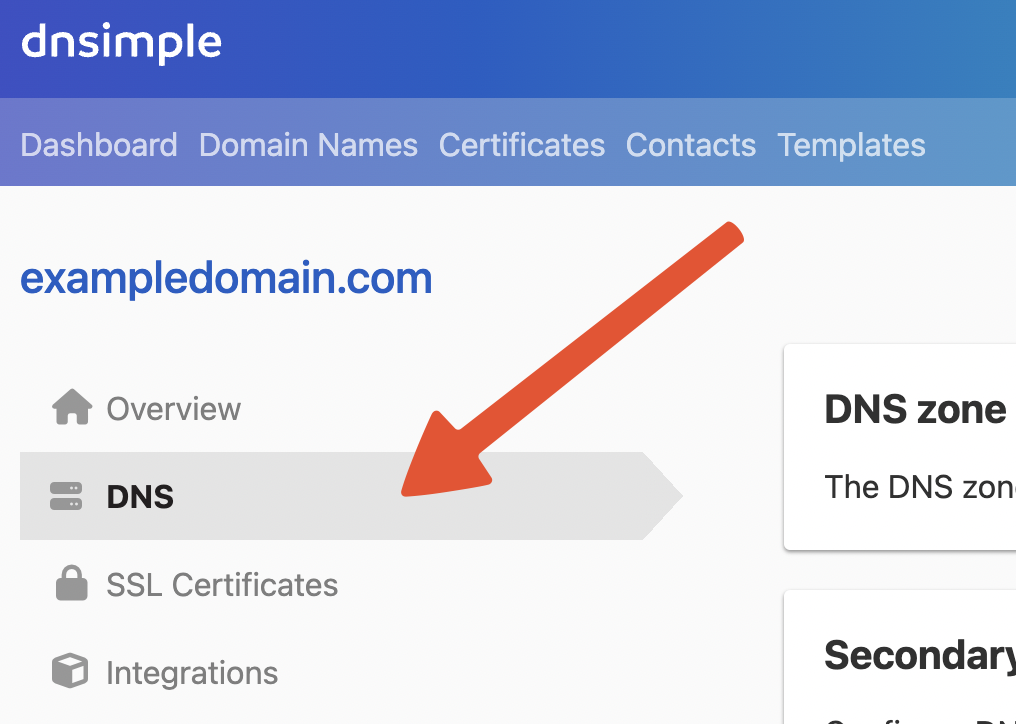
-
In the card, under , click next to the provider.
-
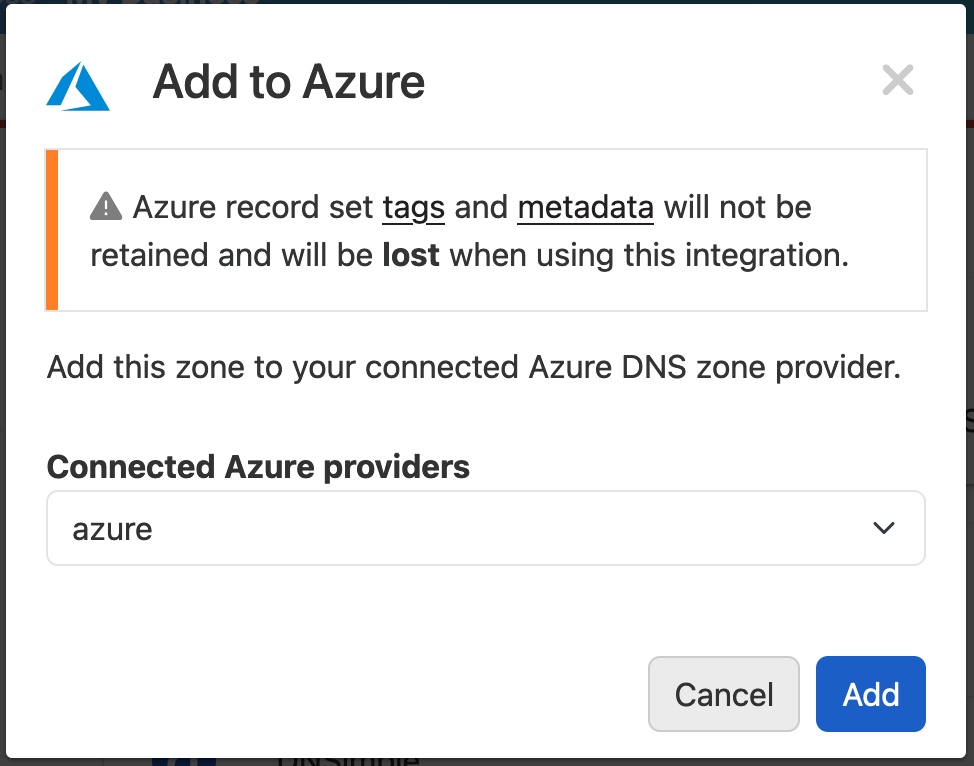
In the dialog, select the connected provider account to use, and click .
What happens next depends on the provider:
- Route 53 and Azure DNS: DNSimple creates the zone at the provider. If the zone already exists there, DNSimple imports it instead of creating it.
- CoreDNS: DNSimple opens the page. Enter a and click . Use CoreDNS as an Integrated DNS Provider walks through the rest.
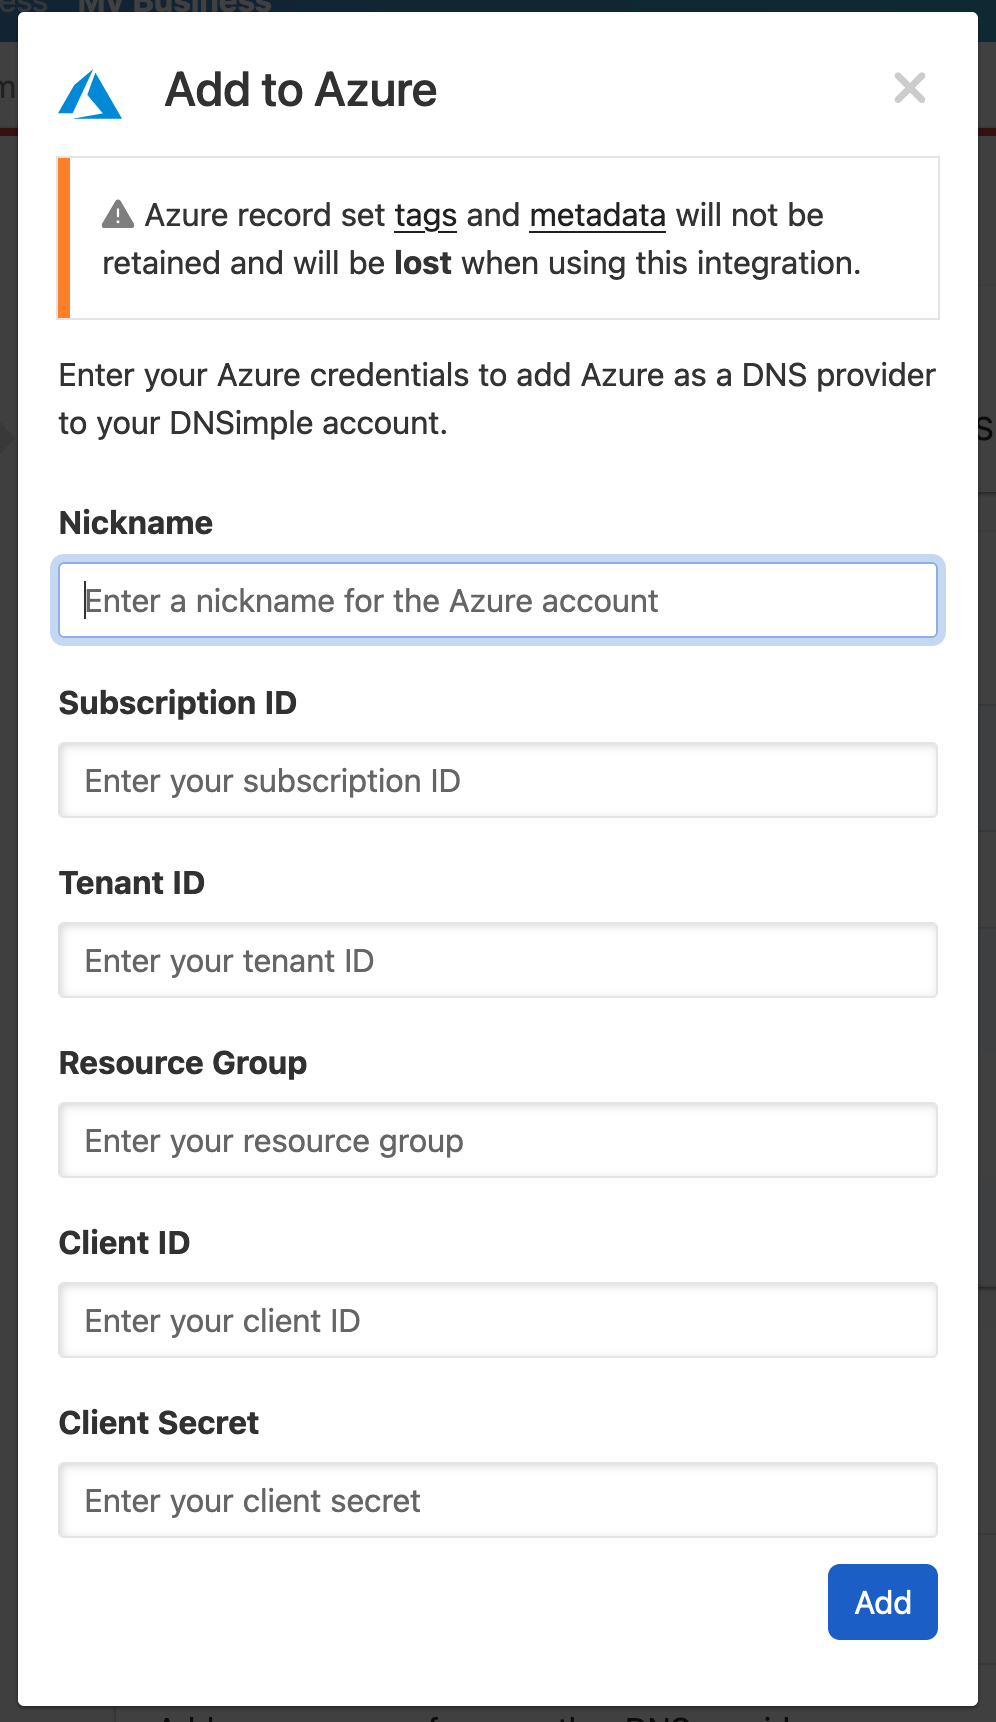
If the provider is not connected yet, clicking asks you to connect it first, using the same details as connecting a provider. The zone is then added to the provider.
Removing integrated zones from DNSimple
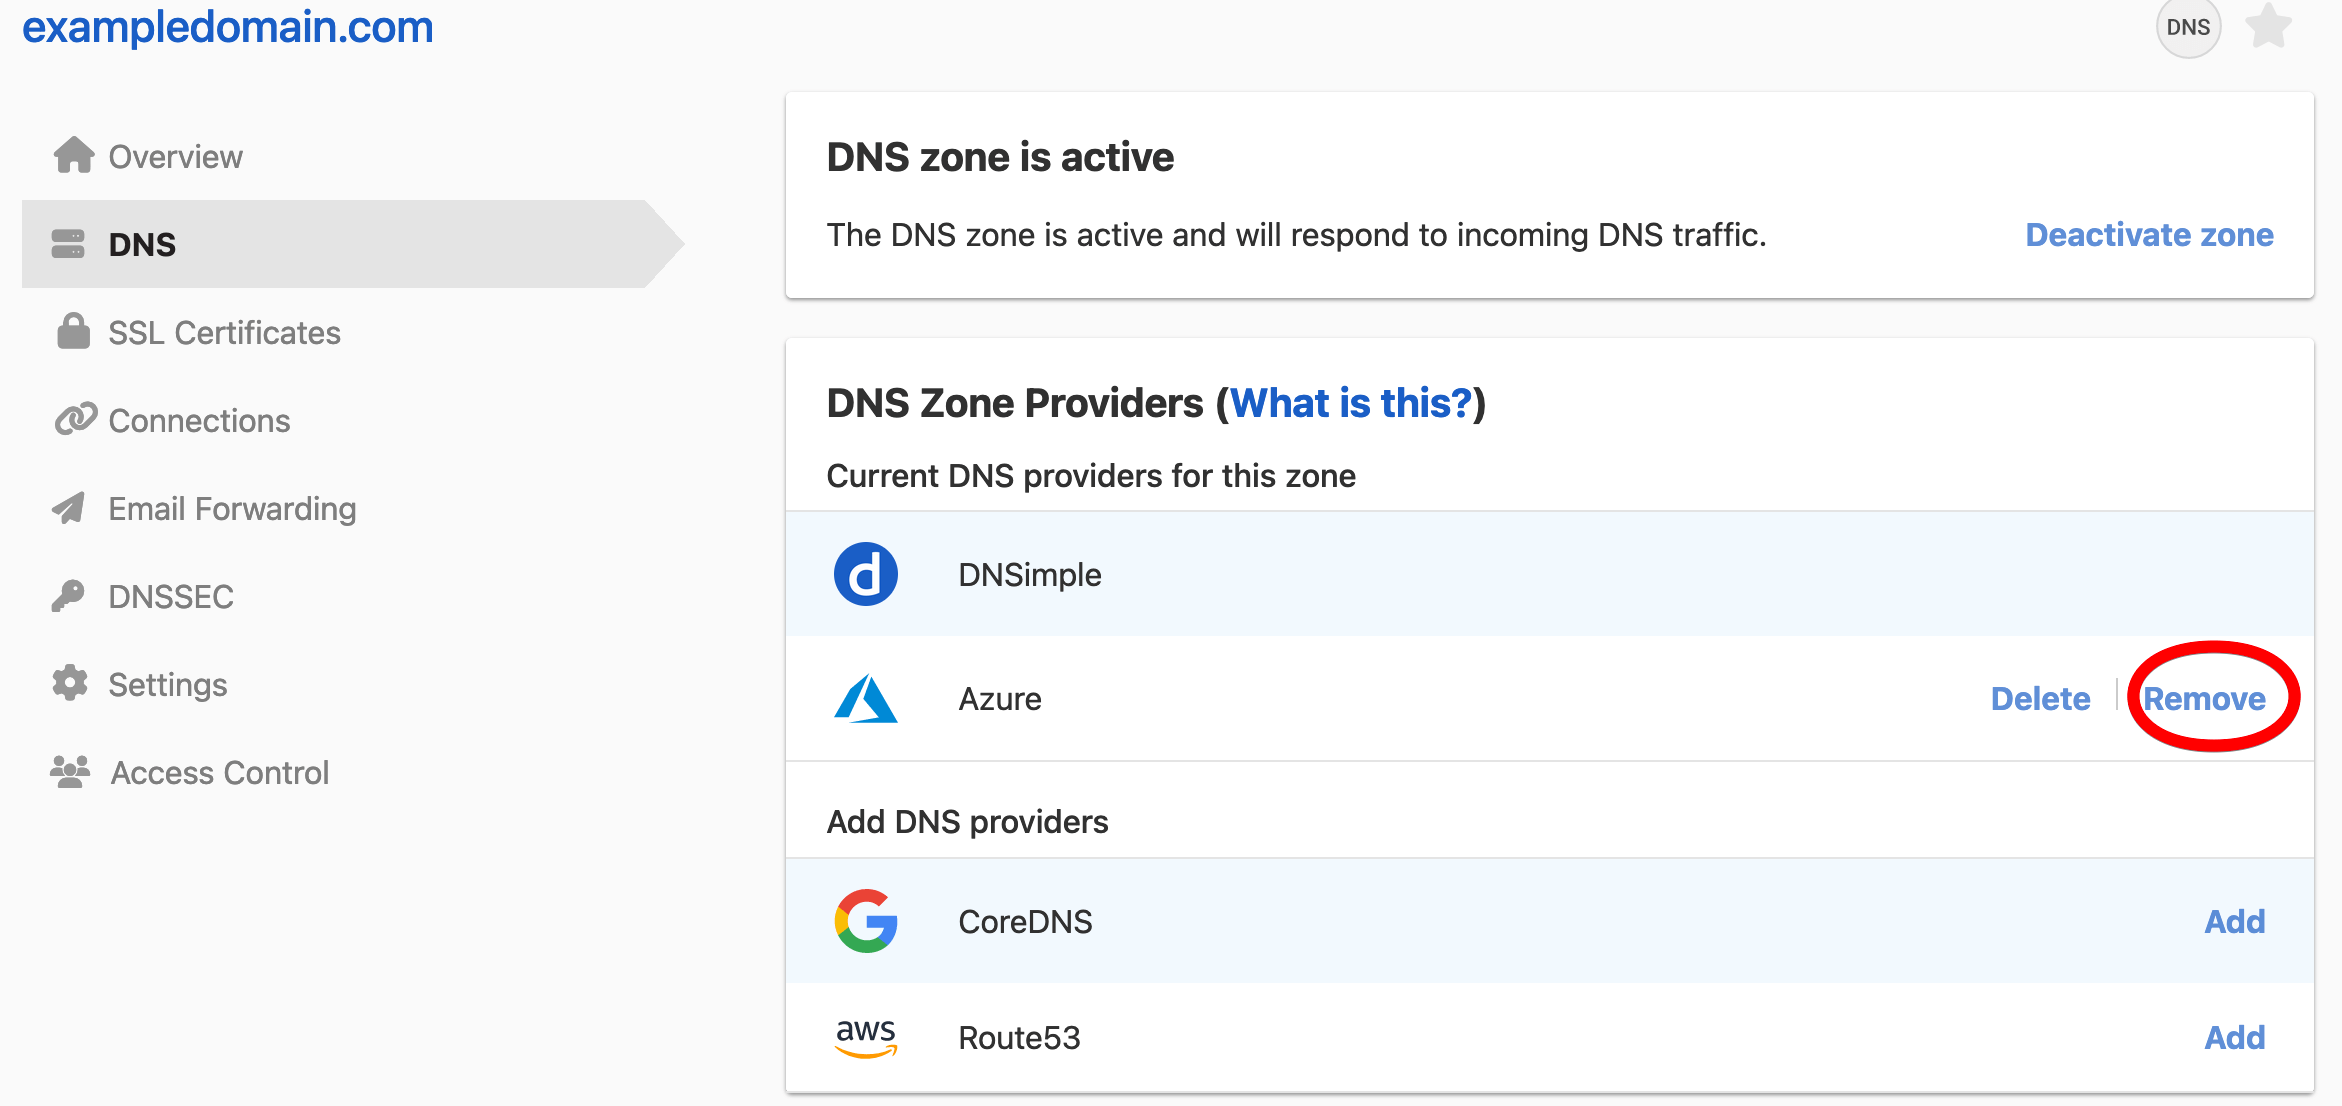
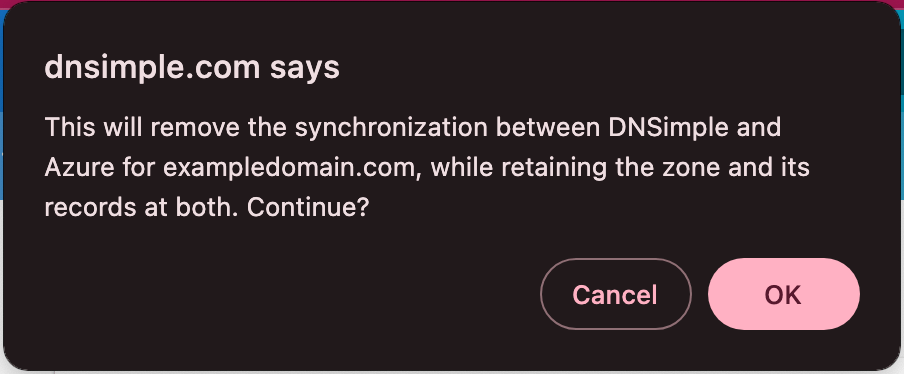
Removing a zone stops DNSimple from managing it at the provider. The zone and its records stay at both DNSimple and the provider, but you can no longer sync the zone or change its records at the provider from DNSimple. Remove is available for Route 53 and Azure DNS. For CoreDNS, use Delete.
To remove an integrated zone
- If you have more than one account, select the relevant one from the account switcher at the top-right corner of the screen.
- From the list, click the domain you want to manage.
- Click the tab on the left side.
-
In the card, click the menu at the end of the provider’s row, then select .
-
In the dialog, click .
Deleting a zone from an Integrated DNS Provider
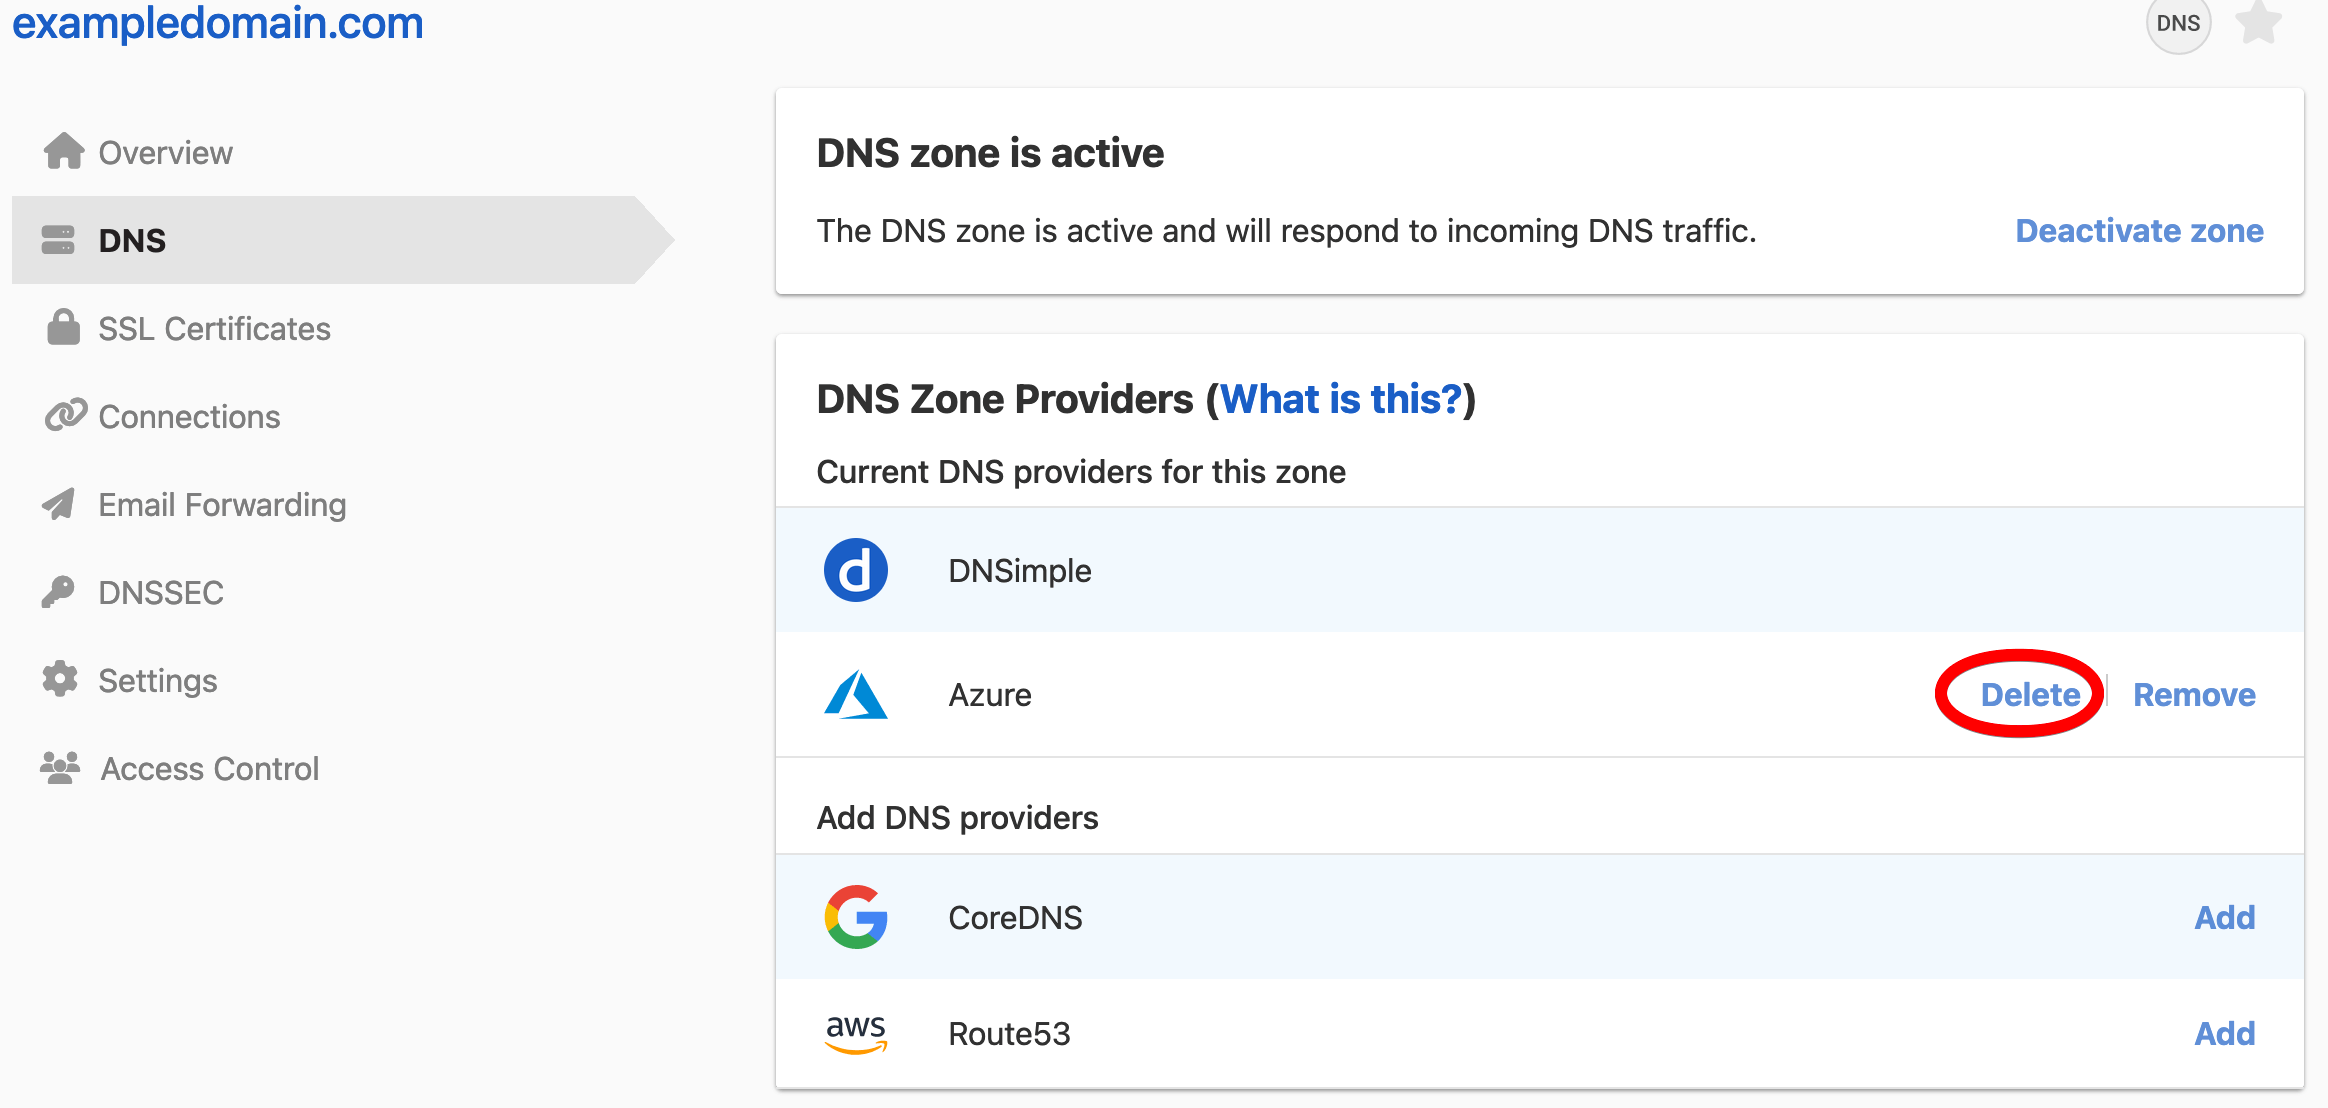
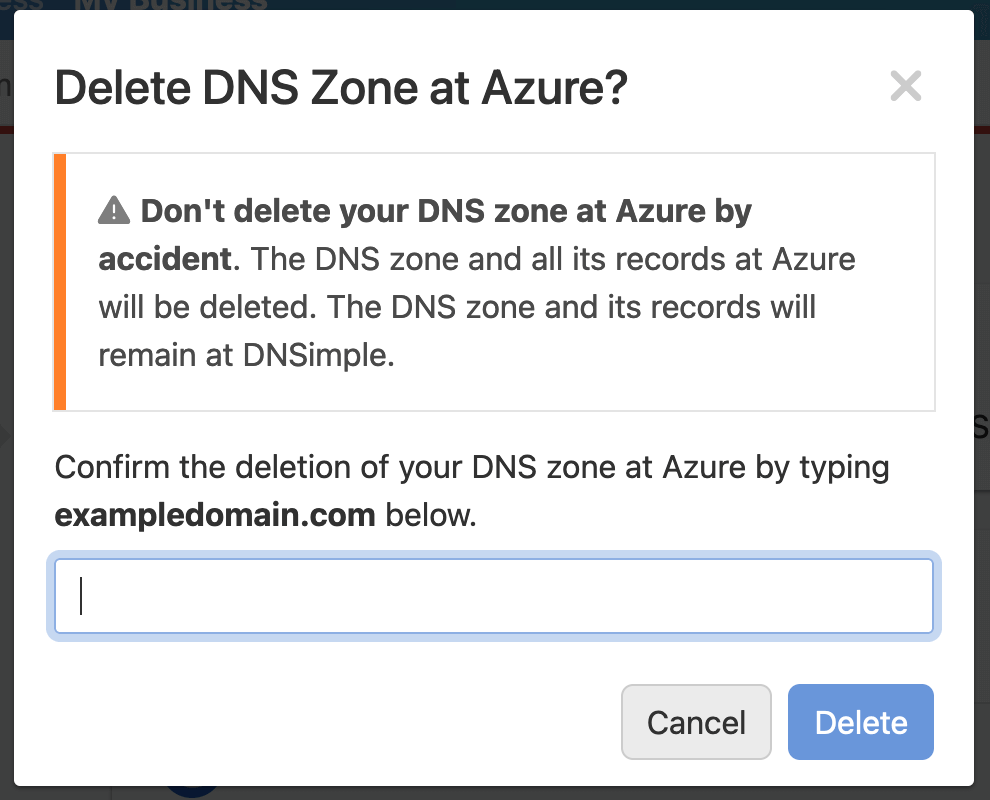
Deleting a zone at a provider deletes the zone and all its records at that provider. The zone and its records stay at DNSimple.
Warning
For CoreDNS, deleting removes the zone’s CoreDNS configuration. DNS changes for the zone no longer reach the CoreDNS cluster.
To delete a zone at a provider
- If you have more than one account, select the relevant one from the account switcher at the top-right corner of the screen.
- From the list, click the domain you want to manage.
- Click the tab on the left side.
-
In the card, click the menu at the end of the provider’s row, then select .
-
Type the zone name to confirm, and click .
If something does not work as expected, see Troubleshoot Integrated DNS Providers.
Have more questions?
If you have any questions about Integrated DNS Providers or managing your integrated zones, contact support, and we will be happy to help. You can also read more about DNSimple integrations.